Generating New Ceramic Forms with Slab Pottery Templates
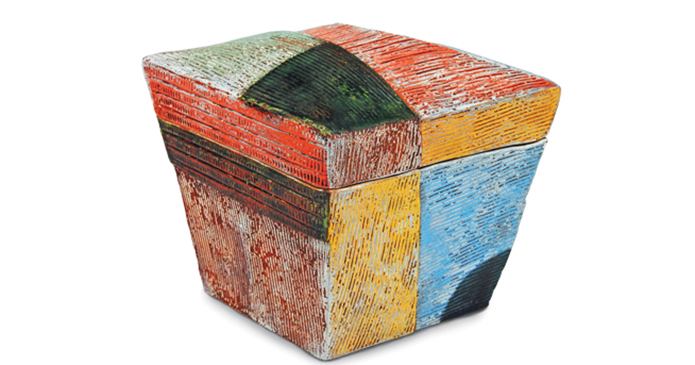 Using slab pottery templates is a great way to consistently build a form over and over again. But there are more benefits than just that. Andrew Avakian makes slab-pottery templates to help generate new slab-built forms. Andrew creates maquettes of possible new pieces using tagboard (thick paper) and then tweaks them until he creates the desired form. Then he builds the piece in clay.
In this post, an excerpt from the Ceramics Monthly archive, Andrew shares how he makes a box using paper templates for ceramics. With Andrew’s technique, you can develop great new forms! –Jennifer Poellot Harnetty, editor
The Process: Slab Prep
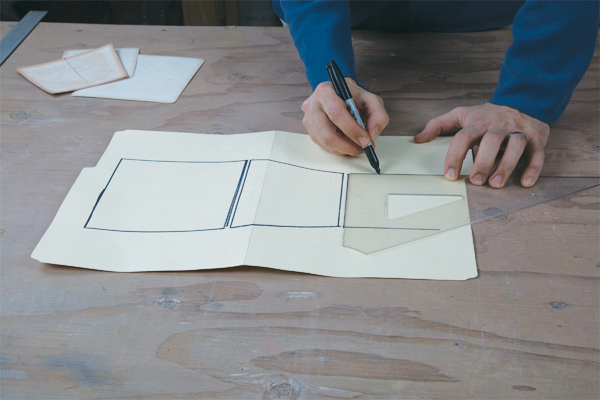
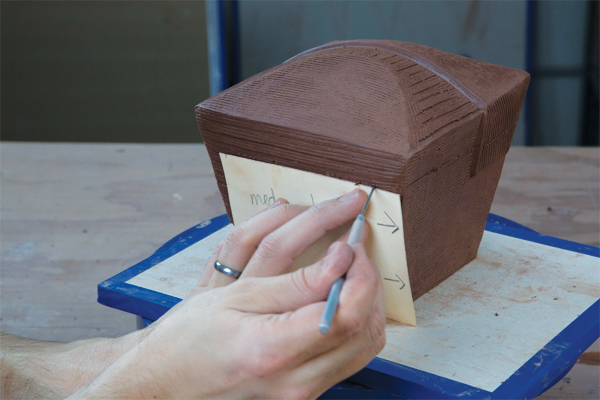
The template for a box is relatively simple because the sides have no curvature. I like to make the top of the box larger than the bottom so that the sides gently slope downward at a slight angle. I start by deciding the proportions (H × W × D) of the top and bottom of the box and draw the template for the sides to match (1).
Using Slab Pottery Templates to Assemble Forms
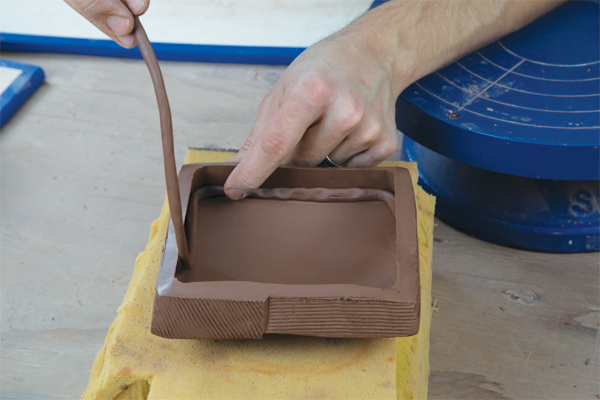
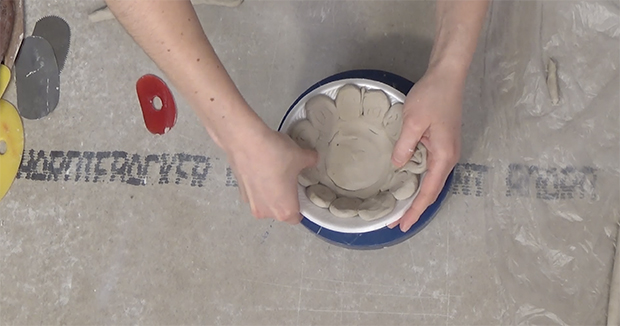
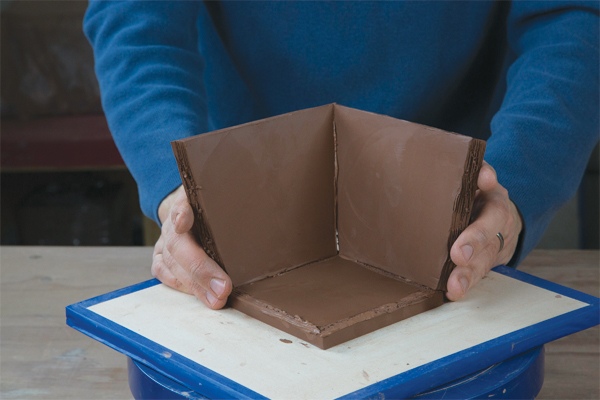
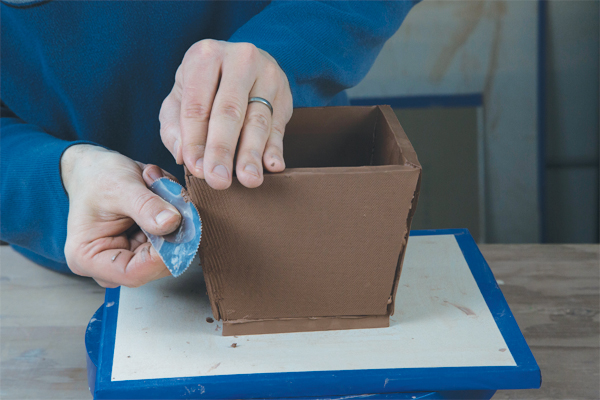
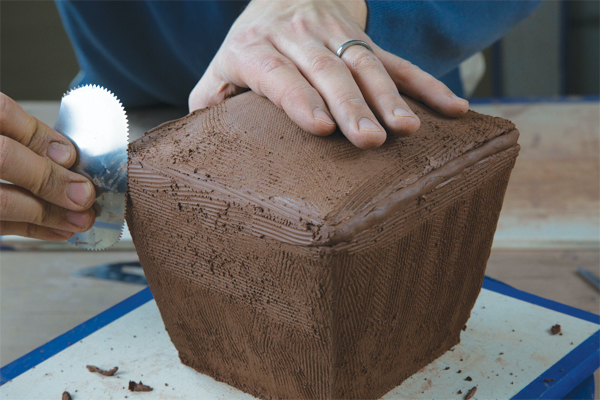
I assemble the slabs to form the bottom and sides of the box using slip (3), and rib the joints together on the outside of the box using a serrated rib (4). Next, I add coils to the joints on the inside of the box and smooth the coils using my finger and water. I place the slab that will become the lid onto the walls of the box and rib it into the form, smoothing and rounding it to create a domed lid (5). I allow the lid to set up, wrapped in plastic, overnight or until it holds its convex shape when flipped over (see 6).

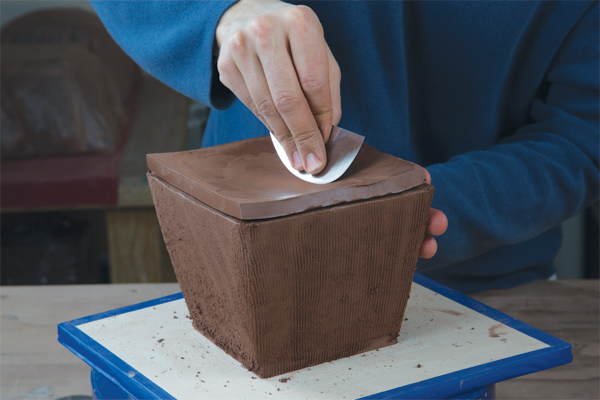
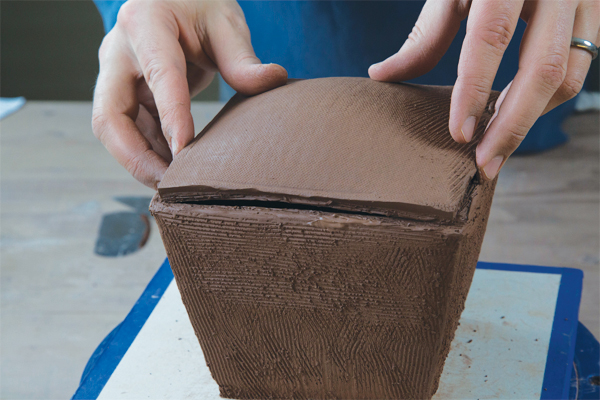
Next, I take the lid off the box, lay it on a piece of foam, and score the edges. I flip the lid over and attach it to the top of the walls (6) with slip and rib the sides of the lid to round them into the body of the box. If needed, I add a coil to fill in any gaps between the lid and sides (7). I blend the coil into the surface, then texture the entire surface with a serrated rib. I blend the coil into the surface, then texture the entire surface with a serrated rib.
Cutting the Lid
Now I can decide on the size of the lid and make a template out of tag board to help draw a straight line around the box. I use a sharp knife to make a 45° incision into the box along the line. Using a banding wheel, and keeping the angle of the knife consistent, I follow the line until the top is separated from the bottom (8). I flip the lid upside down onto a piece of foam, and roll out a coil to finish the joint inside the lid (9). Next, I use a serrated tool to refine the newly cut edges of the lid and box. I use newspaper to keep the lid and box from sticking together and leave the lid on the box until bone dry.
