How to Handbuild a Ceramic Pitcher
We have a number of pouring pot projects here on Ceramic Arts Network, but the majority of them are wheel thrown. So today I thought I would share a great handbuilt pitcher project.
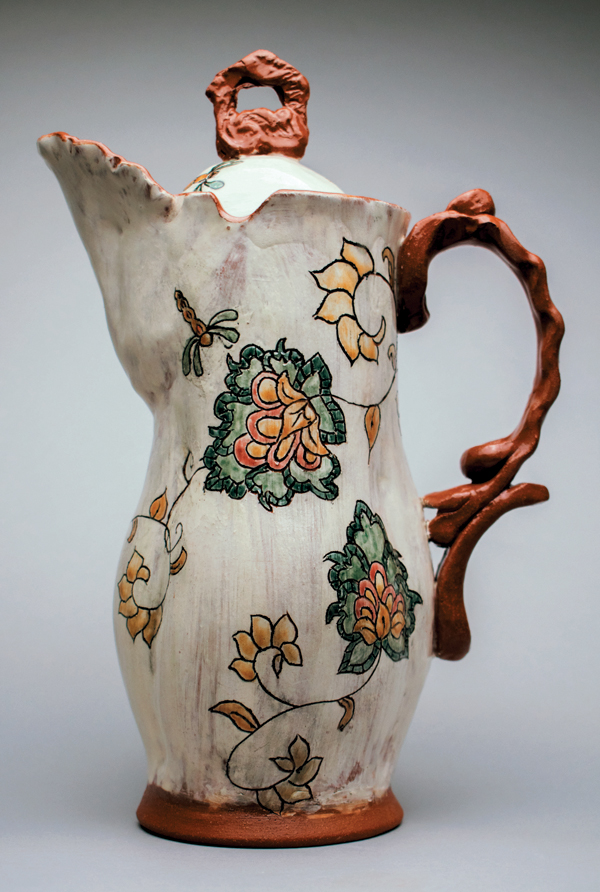
In this excerpt from the July/August 2022 issue of Pottery Making Illustrated, Kimberly Hilligoss shares how she handbuilds her “Chocolate Pots,” a form for serving hot chocolate inspired by French Limoges pottery.
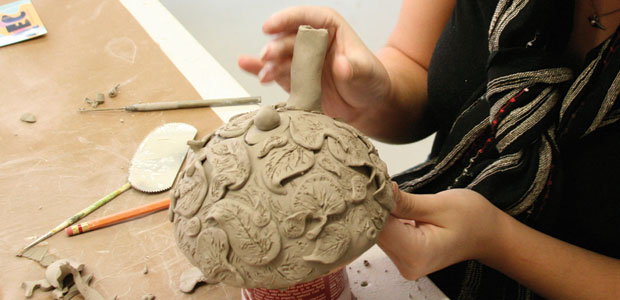
PS. To learn how Kimberly adds her knobs and handles, as well as how she decorates her pitchers with slips, underglaze, and sgraffito, check out the July/August 2022 issue of Pottery Making Illustrated.
My work is exclusively handbuilt using slabs, sprig molds, and pinching techniques. Many of my forms, including the chocolate pot (a porcelain or metal container designed to serve hot chocolate), are inspired by French Limoges pottery. I use red earthenware with white slip to provide the user a contrast of rich earth tones and a pristine white surface to view the decorations and bright colors. The floral designs I carve are inspired by 17th-century embroidery.
Rolling the Slab
Begin by rolling out a large slab approximately 3/16 inch thick. You will need the slab to be large enough for the body, spout, bottom, a strip for the foot ring, and the gallery. The slab is ready to be used when it reaches soft leather hard, as it will be able to tolerate bending and shaping without cracking. The thickness and stiffness of the slab ensure the slab will not collapse when formed into a cylinder. Once the slab is the desired stiffness, use a rubber rib to smooth out any texture and compress the clay particles.
Forming the Cylinder
To form a cylinder, cut out an 8½ × 11-inch rectangle from the slab. Bevel the 8½
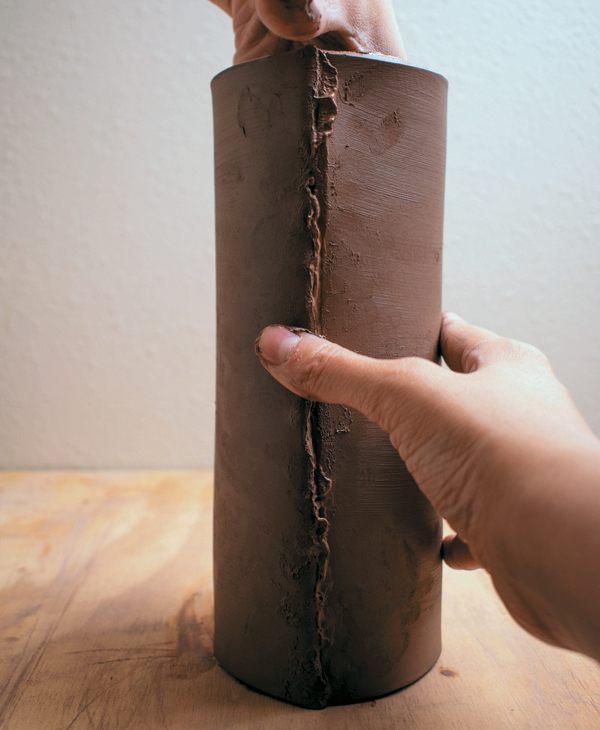
-inch sides at a 45° angle using a dull cutting tool or bevel cutter. Carefully lift the slab on end and roll it into a cylinder. Score and slip the beveled ends, then join the ends together by using one hand to smooth the seam and one hand to support the pot from the inside (1). Use a small rubber rib and a damp sponge to thoroughly smooth the seam. Do this to the inside seam in the cylinder as well.
Shaping the Pot
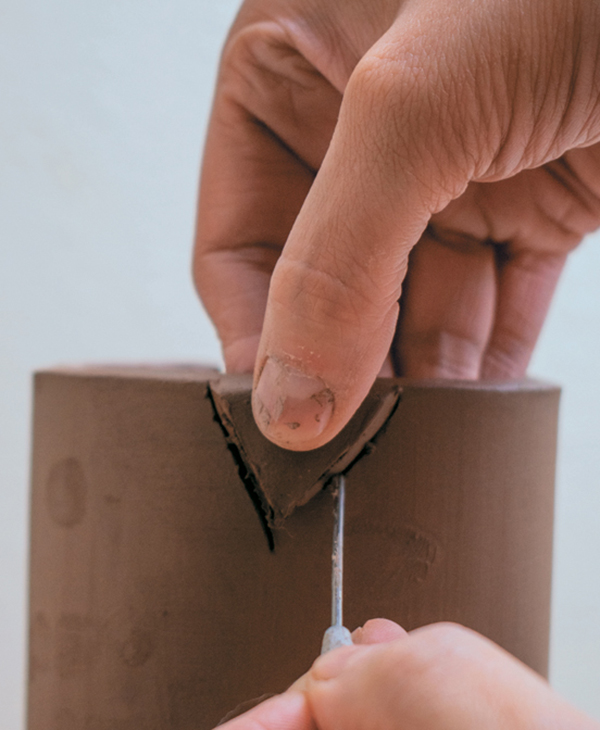
To shape the bottom, cut out a small, 1-inch-wide triangular dart from the end you choose to be the bottom. Be careful not to make the dart too large because it will create an unstable base for the pot. The seam is the best place to make the first dart.
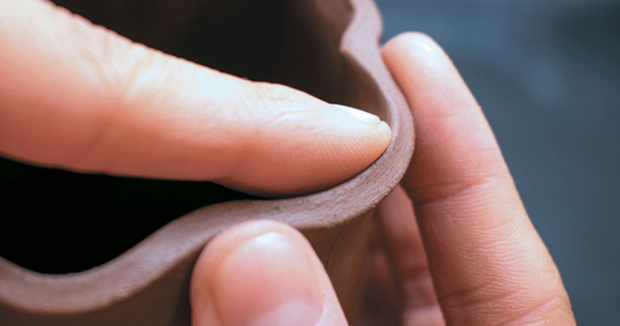
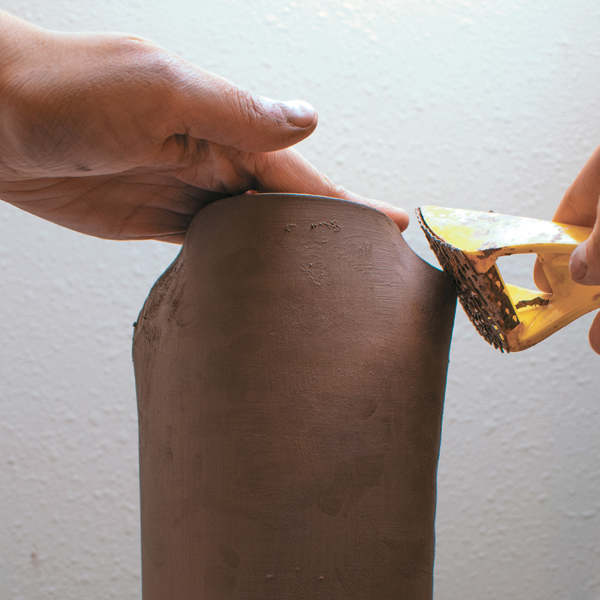
Once the first triangle is cut out, use it as a template to cut out a second triangle (2). The two triangular darts should be directly across from each other. Using your fingers, pinch the edges of the darts to create a beveled edge, then score, slip, and join the edges to make a seam. Transfer the cylinder to a banding wheel. While supporting the cylinder with the opposite hand, use a rasp to remove excess clay on the dart seams and round out the form (3).
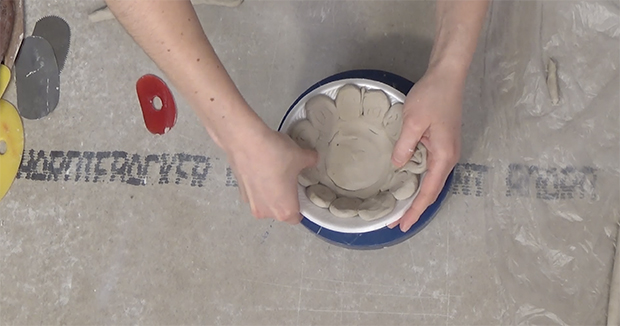
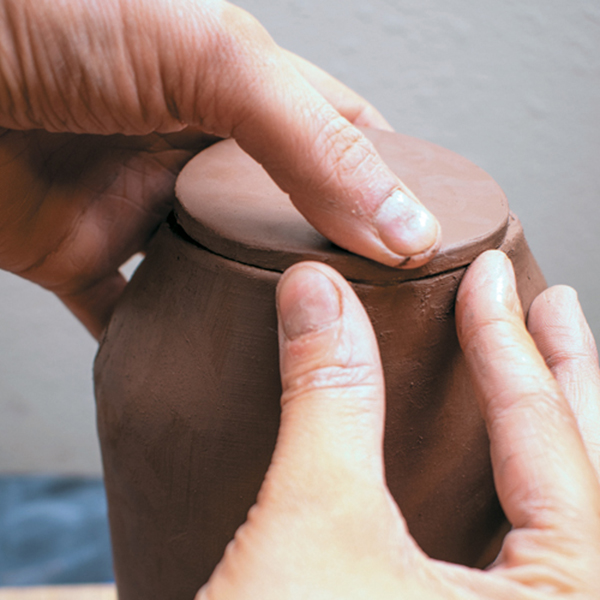
For the bottom, cut out a circle about 3 inches in diameter from the leftover slab. Score and slip the cylinder and the circle where the parts will meet. Place the circle on the opening of the pot. Compress the circle to the pot using your thumb. Then, use your other thumb and index finger to smooth the opening of the cylinder into the circle bottom (4). Smooth the bottom until no seam is showing.
Adding Undulations
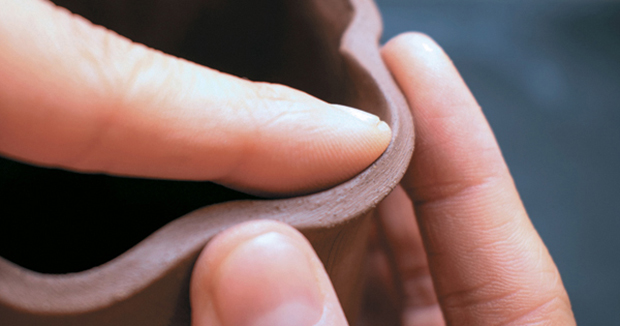
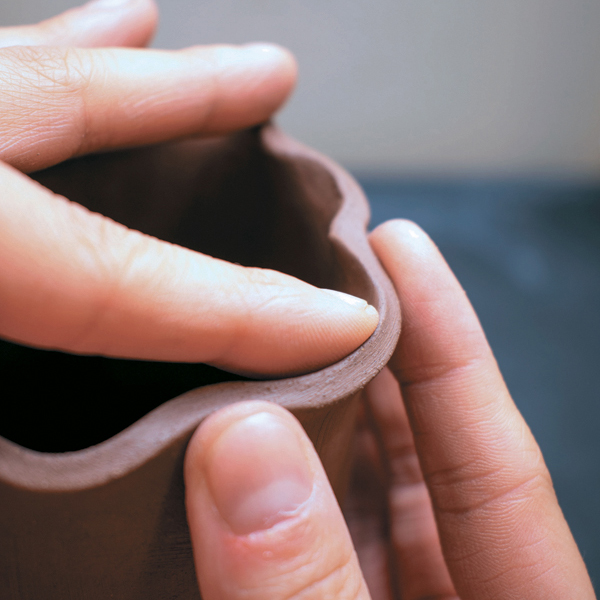
Flip the pot over so that the bottom of the pot is directly on a board or banding wheel. Use a damp sponge folded over the rim to smooth it out and dampen it slightly. Once the rim is slightly pliable, begin adding undulations by spreading your thumb and index finger approximately 1–1½ inches wide over the outside of the rim while your index finger on the opposite hand gently pushes the rim out from the inside, between the fingers, to create a curve (5). Repeat this process until you have undulations all the way around the rim.
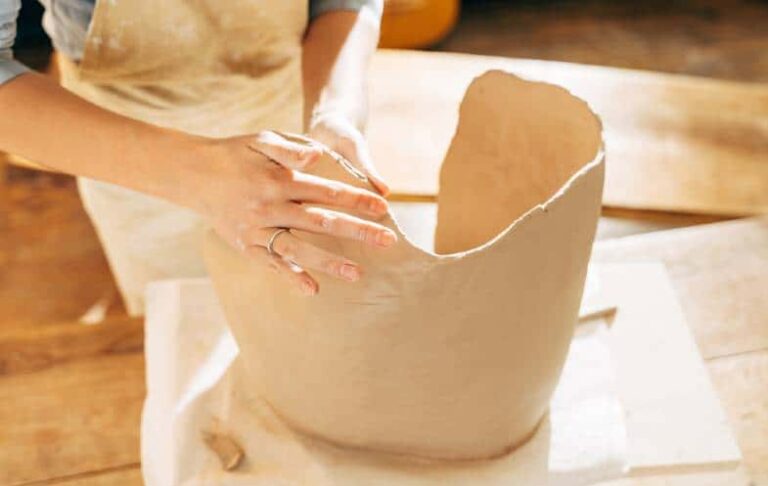
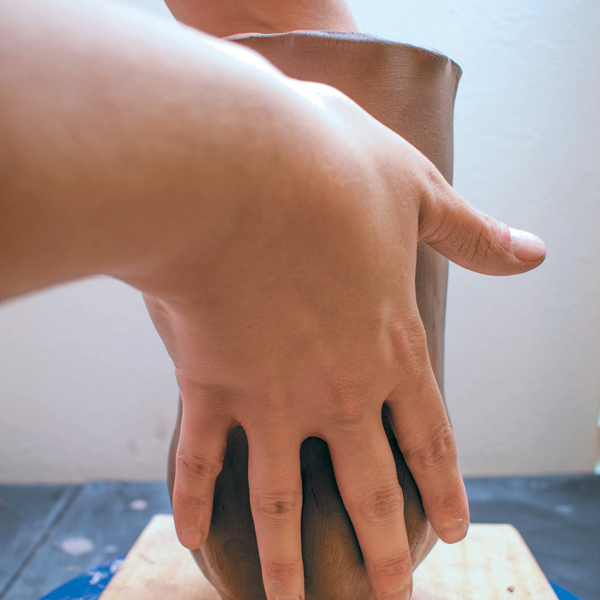
To add shape to the body, start adding a small, even belly all the way around the bottom of the pot. Use one hand to support the top while performing a scooping motion with the other hand. Once you have a small belly, begin adding undulation to the body by scooping one finger on the inside of the pot directly between the middle and ring finger of the supporting hand (6). Smooth any cracks with a finger or damp sponge. Using the banding wheel, ensure the undulations are even all around the pot.
Adding a Foot
To begin adding the foot ring, cut out a long, ½-inch-wide strip from the leftover slab. Smooth it out with a sponge to moisten the strip and make it pliable. Flip the pot over so the bottom is facing up. Score and slip the bottom of the pot along with one edge of the strip. Attach the strip to the bottom, cutting off any excess. Bevel the ends of the strip and join the ends to each other. Add undulations by spacing the thumb and index finger ½–1 inch apart and rounding out in between with the opposite hand (7). Press the foot ring out slightly to create a stable base for the pot.
Attaching a Spout
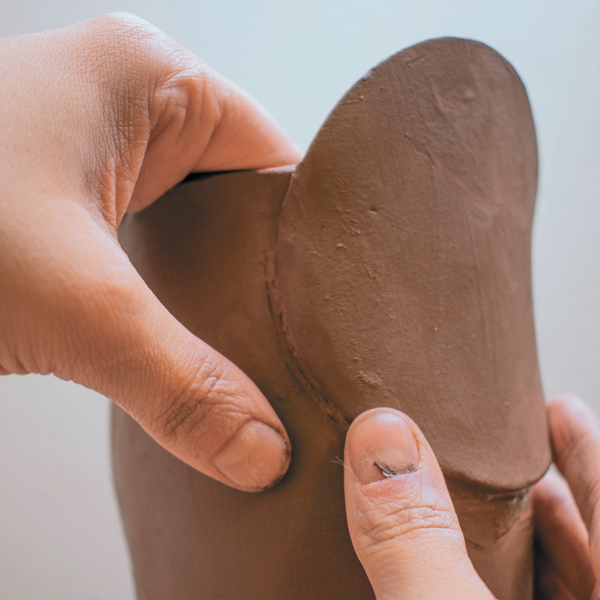
Cut out a 3½-inch circle from the leftover slab for the spout. Place the circle against the pot on the opposite side of the seam, about 2½ inches from the rim. Using a needle tool or cutting tool, trace the bottom half of the circle to make a guide for cutting an opening for the spout. After the opening is cut out, score and slip the edge of the spout that will attach to the pot as well as the edges around the opening. Attach the spout to the pot and use your thumb to create a smooth transition between the spout and the pot (8).

Creating the Gallery and Lid
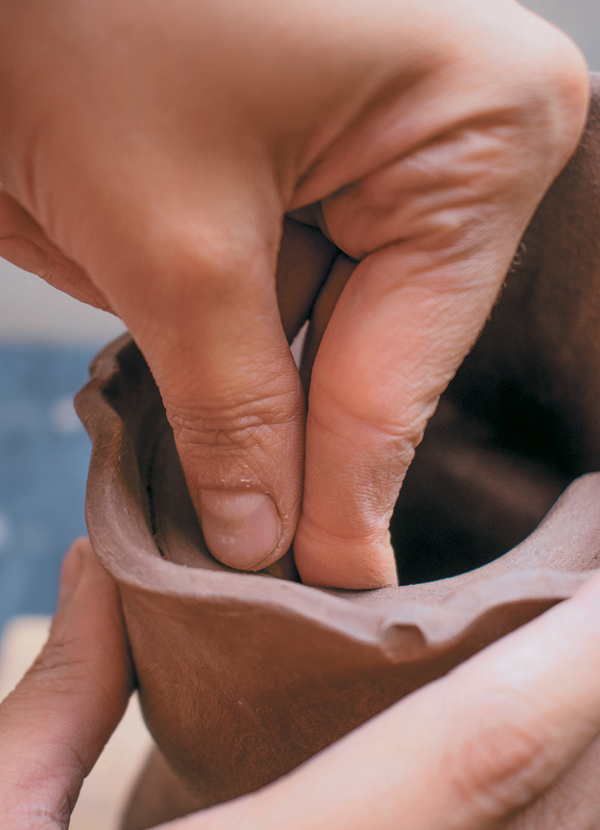
The gallery is the part of the pot that the lid will sit on. To create a gallery, cut a ½-inch-wide strip from the slab. Use a sponge to moisten the strip and make it pliable. Score and slip the edge of the gallery that will attach to the pot. Score and slip the pot where the gallery will attach. This will be about ½ inch down from the rim. The gallery should stretch from one side of the spout opening to the other side. Use one hand to hold the end of the strip while the other hand attaches the strip. After the strip is in place, firmly press the strip into the walls of the pot using the thumb and index finger of one hand while supporting the pot with the other (9). With your thumb and index finger on the gallery, spin the pot on the banding wheel to feel for any high or low spots. Once the gallery is level, smooth out the join with a rubber-tipped tool or damp paintbrush to keep it from cracking.
Pinching the Lid
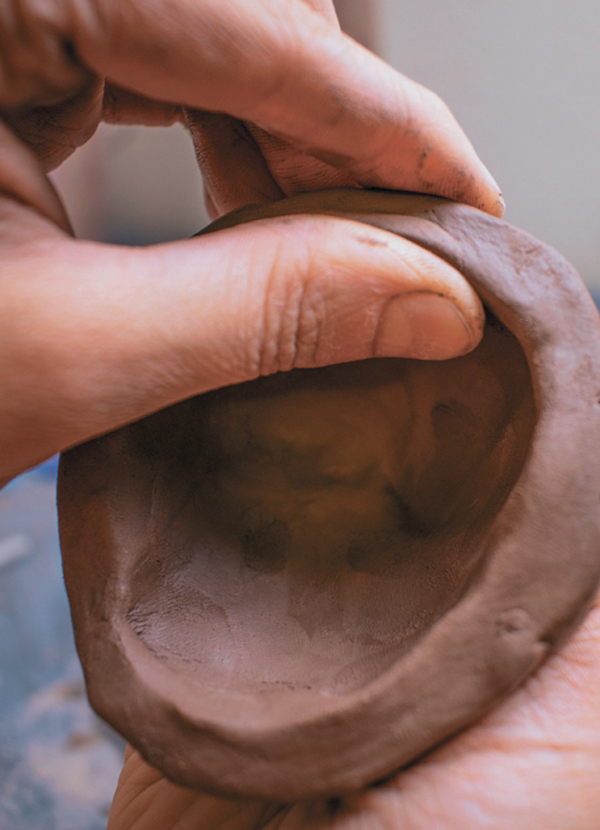
The lid is made using pinching techniques. Grab a chunk of clay slightly smaller than a baseball, wedge, and form it into a ball. Create a pinch pot by inserting your thumb in the ball, pinching the walls and bottom thin with your thumb and index finger (10). Use a rasp to smooth out and shape the lid. The lid should be about the same thickness as the pot.
Kimberly Hilligoss studied ceramics at the University of Houston Clear Lake. See more of her work on Instagram at @kimberlyhilligoss.

