
Making impressions in clay is a ton of fun. Making your own stamps makes it even more fun because it allows you to really personalize your work. There are a wide variety of ways to make stamps, and today I am sharing one I thought was pretty nifty
In this post, an excerpt from his book From a Slab of Clay, Daryl Baird shows us how to make our own stamps or press molds using a great transfer technique and insulating foam. Daryl also shows us how he uses his stamp as a press mold to make tiles.
There it is, in front of you—a freshly rolled slab of clay. It’s about 3/8 inch thick and 15 inches in diameter. In this pristine state it’s almost like a blank canvas. And in the same way a novice painter may find the blank canvas a little intimidating, you may find yourself looking at the slab of clay and wondering where to start, wondering what to do with it.
Simple as it may seem, tile making is the perfect way to begin working with slabs of clay. It helps familiarize you with your clay and with the essential tools used in most slab work including: slab boards, a rolling pin or slab roller, measuring, cutting and decorating tools.
Before getting started, make a few prototypes where you can master the techniques and discover the textures that will increase the likelihood your projects will come out of the kiln just the way you want.
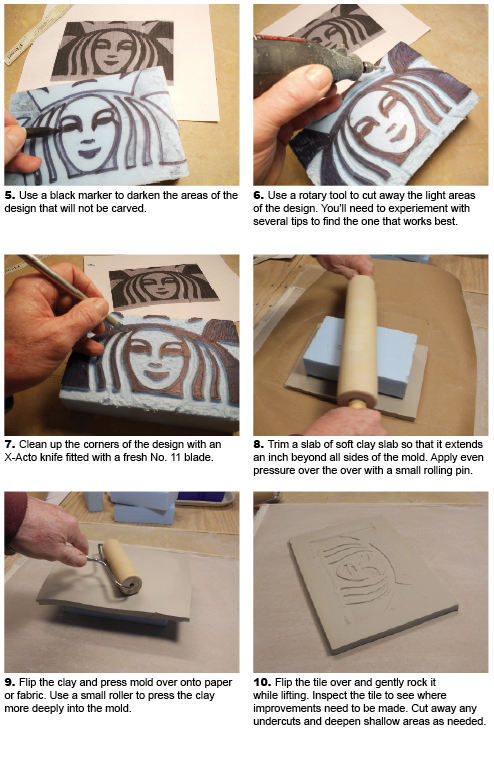
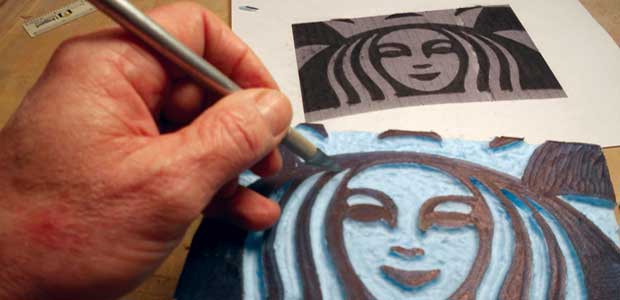
Carving Your Press Mold
Tools and Materials
- Charcoal stick
- a soft lead pencil with eraser
- paper
- indelible marker
- a block of foam insulation
- Dremel-type rotary tool
- X-Acto knife with No. 11 blade
- small roller, straightedge
- needle tool or cutting knife
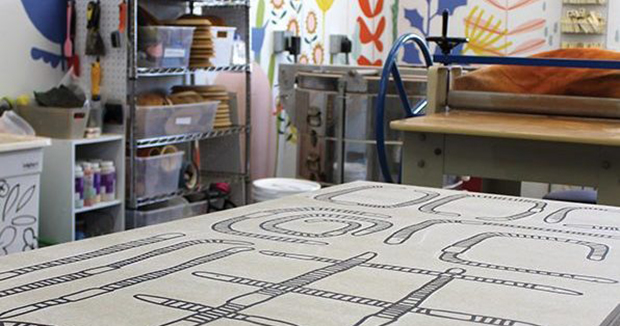
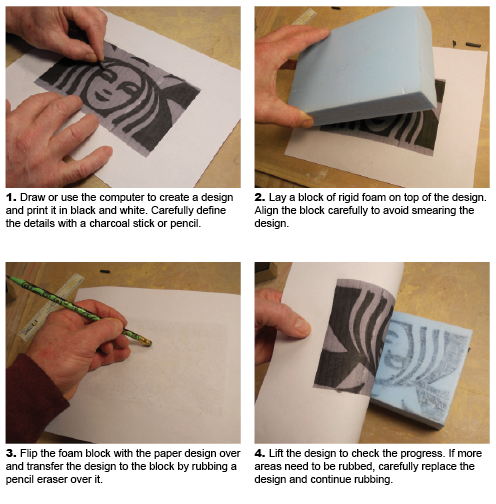
Slabs of fresh soft clay are perfect for pressing designs into. Here’s an easy-to-make foam mold with limitless design and texture possibilities.