How To Guide For Spiral Wedging
Remove Air Bubbles
Air bubbles in clay can cause the wall of a pot to become weaker or uneven. Air bubbles can also cause issues when the pots are fired. Spiral wedging is a great way to remove air bubbles from your clay.
Even Consistency
Clay that is old, recycled, or reused can have hard or soft spots in the clay. If two different kinds of clay are being mixed you often want the clay to be mixed completely. Ram’s head wedging is great for mixing clay so it becomes one even consistency throughout.
Grab some clay

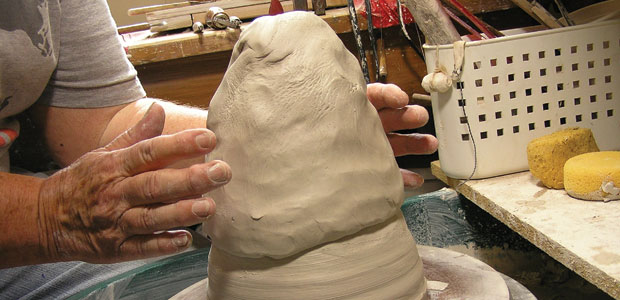
Get as much clay as you will need to make your pottery. You can wedge large amounts with spiral wedging. Form the clay into a cylinder or block that is slightly longer than it is wide. Place the clay flat on your work surface with the long side perpendicular to your body.
Press your palms into the clay

Press the bottoms of your palms into the half of the clay that is furthest from you. Press at an angle away from your body, down towards the work surface. The top of upper part of your palms and fingers should wrap around the outside of the clay and press slightly in toward the middle.
Rock the clay back and spin it

Pick up the end of the clay that is furthest from you and pull it up towards your body. Keep the part of the clay that is closest to you against the work surface. As you pull the clay toward you spin the clay a little bit (10-15 degrees) to one side.
Press your hands into the clay again

Press your hands into the clay a little higher and a little to the side of the place you pressed the first time. If you spun the clay to the left (counterclockwise) you may press straight down more with your left hand and press more from the side toward the middle of the clay with your right hand. This will help the clay spin during the process.
Repeat rocking, spinning, and pressing

Continue rocking the clay up toward you, spinning and pressing as needed. As you get more comfortable you will be able to rock, spin, and press in one continuous motion. Your hands and the top part of the clay will move in a slim oval above the work surface.
Check for consistency and air bubbles

You can cut the clay in half to help make sure the clay is consistent and all the air is removed. You may also notice air bubbles leave the clay. The clay will pull open up along the wrinkles of the spiral or along the ring around the edge of the clay as the air is pressed out. When you don’t see any air bubbles being pressed out as you wedge for a while you have probably removed most or all of them. The clay may pull apart if it is too dry or short, or if there are some dry pockets in the clay.
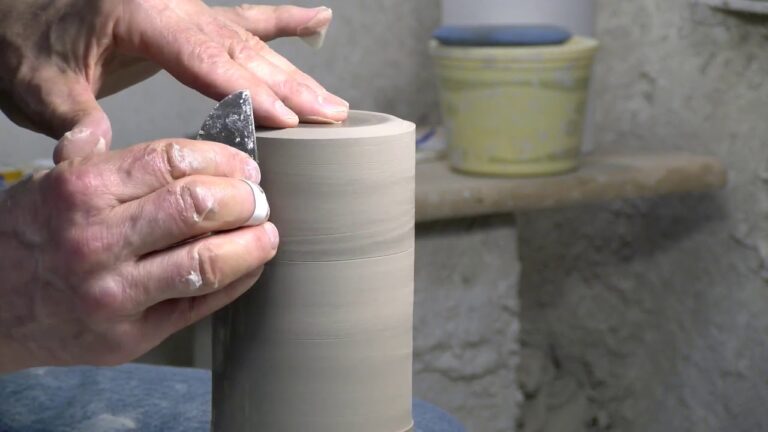
Use less pressure to finish with a cylinder

When you are happy with the condition of your clay you can form the spiral into a cylinder or cut it apart into the proper size pieces for your work. To form a cylinder use less and less pressure as you press into the clay the last few times. This will cause the top part to get bigger and roll up the ring of clay at the bottom, closest to you.
Tools:
- Sturdy, non-stick work surface
- Wire tool (optional)
Materials: Clay

Additional Tips for Spiral Wedging
Troubleshooting
It will take some practice to become comfortable with this technique. If your spiral wedging doesn’t seem to be working try to make some adjustments:
- More or less pressure when you press your palms into the clay
- Try turning your hands to different angles when you press
- Press at more or less of an angle to the work surface
- Spin the clay more or less as you rock it back
Use a Standing Position
Most people prefer to stand at a sturdy work surface that is at waist height or slightly higher. Do not bend over while spiral wedging your clay.
Wedging Time Varies
The number of wedges and time needed varies depending on the state of the clay that you begin with and what condition you prefer your clay to be at as you make pottery. Clay from a recycle bucket will most likely need more wedging than brand new clay straight from a factory.
Alternatives to Spiral Wedging
If you just can’t make spiral wedging work you can try ram’s head wedging or even stack and slam / wire wedging. You could also get yourself a de-airing pugmill.
There Are Many Opinions About Wedging
Wedging seems to be a topic of debate for some potters. Some say that wedging is mostly to align particles for wheel throwing and air bubbles don’t matter. Some say the direction of the spiral is important when you put the clay on the pottery wheel but others do not.
Learn More About Making Pottery
If you enjoyed learning about spiral wedging, be sure to view the articles about ram’s head wedging and stack and slam wedging. And wedging is just the beginning of the pottery making process! You can learn more about making pottery and many of the techniques used to make pots. You can also sign up for the Making Pottery Email List below:
Thanks for reading about spiral wedging!