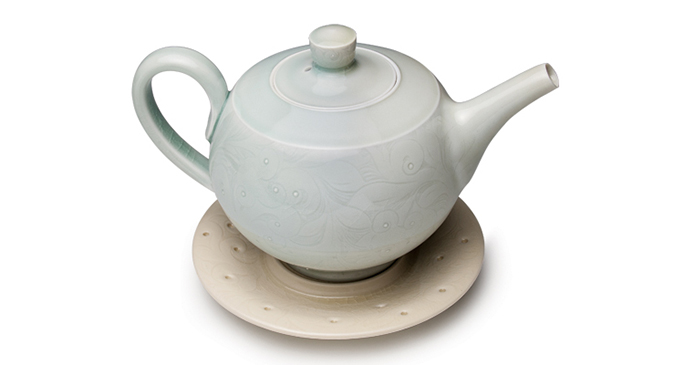
Carving pottery can add not only a pleasing design on a pot, but it can also be tactilely pleasing. Users of the pot get to experience the design in two ways, which can help make a carved pottery piece a favorite in their collection. Autumn Cipala carefully considers each mark she carves into her pieces, creating interesting elements of surprise in hidden areas and enhancing the surface with raised, recessed, or pierced dots.
In this post, an excerpt from the Pottery Making Illustrated archive, Autumn Cipala shares her tips for going the extra mile with carving clay. –Jennifer Poellot Harnetty, editor
Incising and Carving Pottery
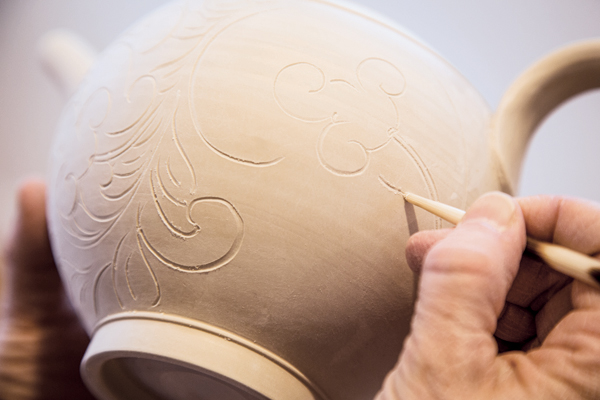
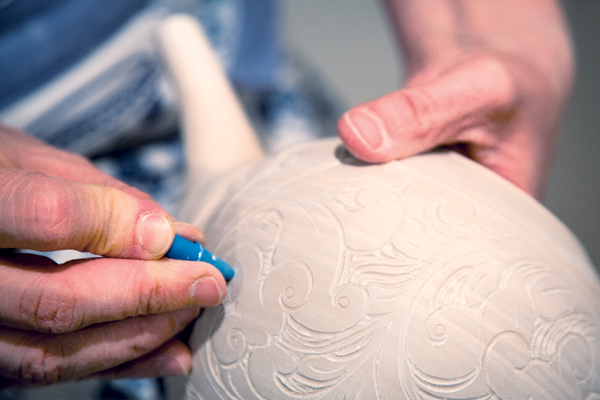
When carving pottery, I surround myself with drawings. I look to and loosely reference them, while being open to improvising or combining elements from different sources as the incised pattern develops (1).
The first step when carving pottery is to consider what areas of the form will receive pattern and how you would like that pattern to direct the eye, such as a scroll pattern, which has a rolling motion that travels around the pot. Here I apply the pattern to the vertical planes of the teapot and the knob, allowing the horizontal planes, spout, and handle to be quiet resting areas where glaze will collect and pool at the defined corners and transition points.
Draw and carve into the porcelain when the clay is a firm leather hard. At this stage the tool cuts easily through the clay, but does not gouge it. I begin incising a drawing into the clay with an African porcupine quill, or a ball stylus tool. The quill is often my preference as it has a slight flexibility to it that is fitting for drawing flowing and lively lines.
When carving clay, consider the first lines incised into the clay to be the skeleton of your design. Begin by laying down directional lines that define the motion and flow of the pattern, then flush out the drawing by working back from the tip of each spiral (2). I sometimes choose to allow this line drawing to stand on its own rather than continue with additional carving.

Carving Pottery – Embellishments
I consider the hidden areas—the flange, the center medallion of the saucer, the bottom of the teapot and saucer—to hold great potential for engagement with the viewer, and embellish them to add a sense of discovery and element of surprise.
I often integrate dots into the surface design—raised, recessed, or pierced—to add an additional layer of depth to the surface. The dots provide tactile and visual focal points of pearl-like raised embellishments, recessed areas for the celadon glaze to gather into jewel-like pools, or pierced windows to look through, hold shadows, or cast light.
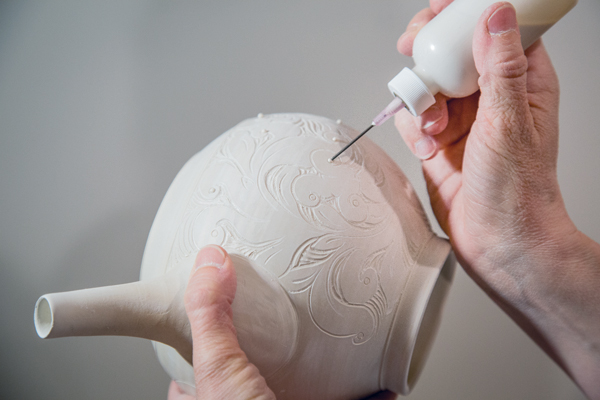
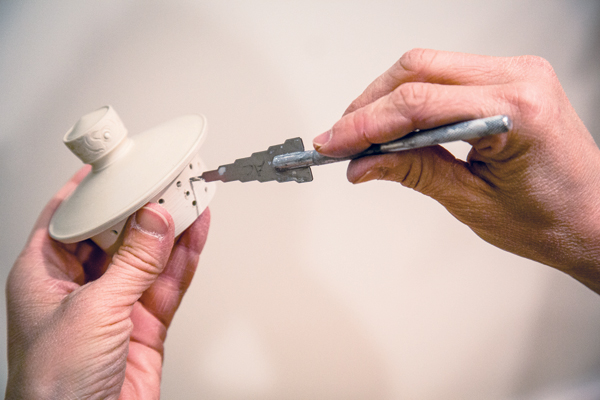
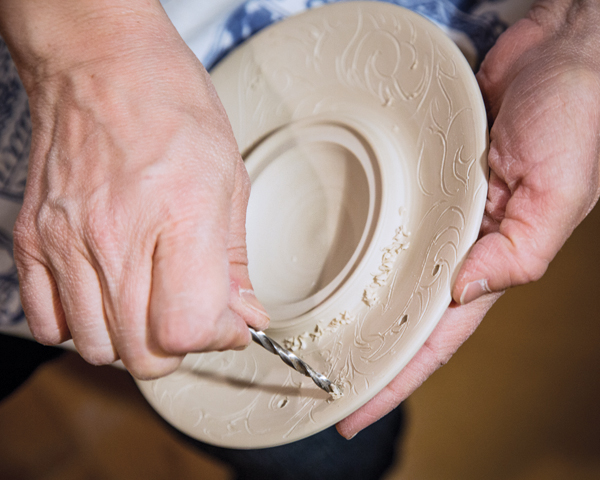
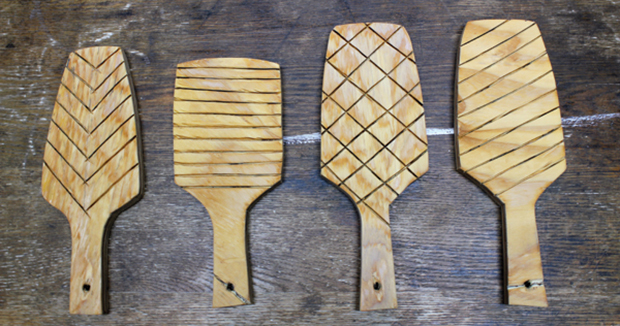
To apply raised dots of equal shape and size, first stamp a circle into the clay (3), then apply a dot of porcelain slip, made from your clay body, with a slip-trailing bottle (4). Drill into the clay by hand with drill bits of various sizes (5, 6) to create circles that are recessed into or pierced through the clay wall.
