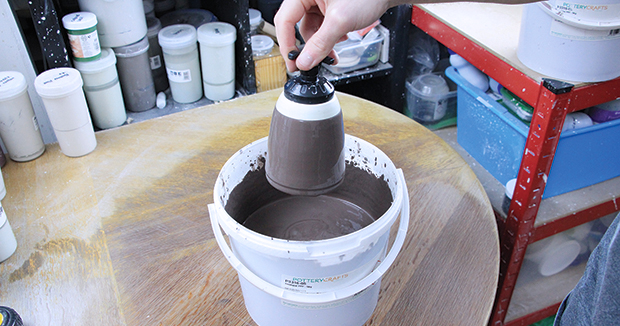

Getting glazes or casting slip to come out the same from batch to batch is a lot easier if you are sure the glaze is mixed to the same consistency each time. Many potters just eyeball it (you know, “mix to the consistency of skim milk”), but to get scientific, you need to measure the specific gravity with a hydrometer.
Making a floating-stick hydrometer doesn’t have to be rocket science. While making calibrating marks on a simple soda straw to show the specific gravity does requires a bit of math, using a calibration chart makes it a lot easier to do. In this post, an excerpt from the Ceramics Monthly archive, Roger Graham shows you how to make and use this simple tool.- Jennifer Poellot
Harnetty, editor
 If you mix your own glazes, you will already have discovered that it is a mixture of science and magic. Probably you make use of an accurate scale for weighing out ingredients. Maybe you consult a glaze calculation program, and work out expansion coefficients. That’s science (with a small “s”). But when it comes to actually mixing the glaze, how much water do you add? Does your recipe say, “Mix to the consistency of thin cream?” Or do you just dip your hand in and see how thick a coating clings to your fingers? That’s Magic (with a capital “M”). One way to bring glaze consistency assessment back to the realm of science is to use a hydrometer, which measures the specific gravity of a fluid. Let me share with you the design for a glaze hydrometer, which you can make for the price of a milkshake.
Making the Hydrometer
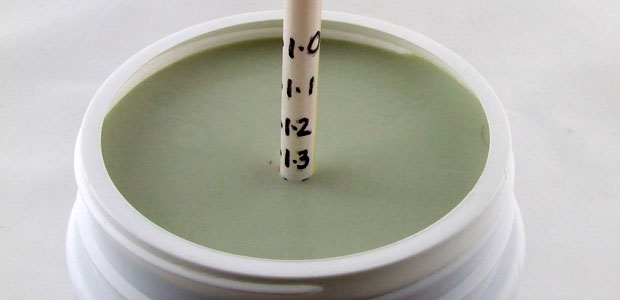
The idea is to fix the little weight (Figure 1) inside one end of the straw, and seal it in with something waterproof. Then you can float the straw upright in the glaze, and the numbers on the straw will show the specific gravity of the fluid. Floating in pure water, the straw should sink to the mark 1.0, meaning that 1 milliliter of the liquid by volume would be 1 gram by weight. If the straw sinks to the mark 1.4 in your glaze, that means 1 milliliter of glaze weighs 1.4 grams, and so on.
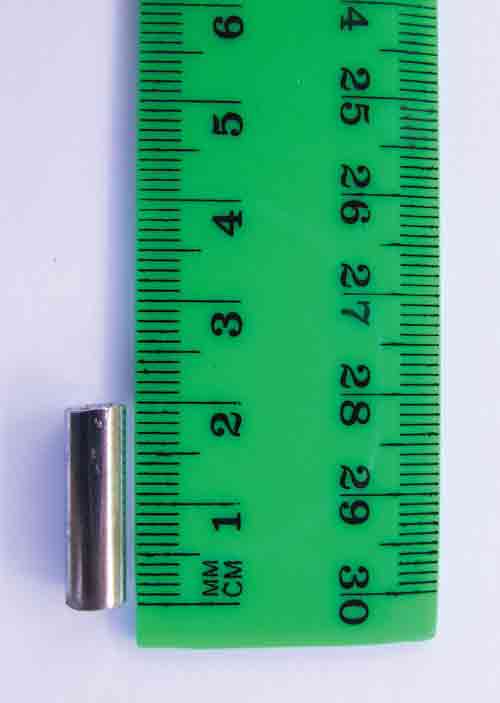
If you don’t have scales suitable for measuring in grams, you can just do it by trial and error. A 20 mm length of ¼-inch steel rod is a good starting point. Just trim it down to about 4 grams using a hacksaw or grinder. A scrap of sheet lead just over a millimeter thick, and about 15 x 20 mm in size, is about right, if that’s what you’ve got. Roll it up into a little cylinder and secure it into the end of the straw with the sealant. Whatever little object you use, it must go completely into the straw (no bits sticking out) and the end of the straw should be closed completely by the sealant. Leave the top of the straw open if you wish, but don’t get liquid inside the straw when in use.
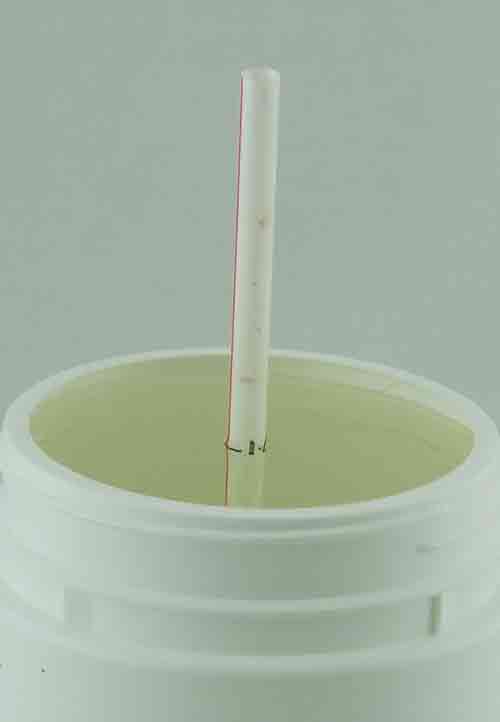
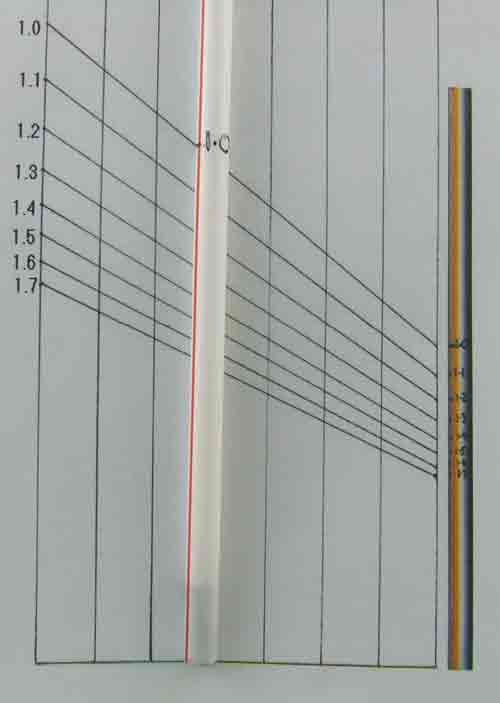
Float the newly made hydrometer straw in water. It should sink a bit over half way, and float upright. Make a mark at the water level (Figure 2). Now dry the straw and line it up with the calibration chart so the bottom end of the straw is on the bottom line, and the mark you’ve made on the straw is against the chart line marked 1.0 (Figure 3). The sloping cross-lines on the chart show where to mark the other numbers, 1.1, 1.2 , 1.3, 1.4, 1.5, 1.6, 1.7 (Figure 4). A value of 1.3 to 1.5 is typical for most pottery glazes (Figure 5). The exact value probably matters less than being able to get it the same next time, or every time.
If you prefer not to use the calibration chart, it’s easy math to calculate where to put the calibration marks. Just float the newly made straw in water, and mark the water level as 1.0. Now measure the length from the bottom of the straw to the water-level mark, in millimeters. Call that length x. With a calculator, work out a value for (x ⁄ 1.1). That tells you the measurement in millimeters where you should add the calibration mark 1.1. Calculate a value for (x ⁄ 1.2), and mark the straw 1.2, then do it again for (x ⁄ 1.3) and so on.


