Taking inspiration from the red and white checkered trays that often serve fried food at festivals or fairs, Adrienne Eliades wanted to make ceramic baskets to contain loukoumades, a sweet treat made by her grandmother. Weaving coils of clay is one way to make a ceramic basket, but Adrienne Eliades wanted to make baskets with a looser “weave.”
Pottery piercing was the technique she came up with. By carefully plotting out a grid and carving clay Adrienne makes light, airy, and delicate baskets that are not only decorative, but also help circulate air around the loukoumades preventing them from becoming soggy! Have a look!
My method of making explores the relationships to personal food narratives inherent in pottery form. Pottery is rooted in utility. For me, the act of making revolves around the idea of design cohesion based on a particular food evocative of the past.
Designing a food-specific ceramic form for the service of my grandmother’s loukoumades (fried dough pieces drenched in honey and sprinkled with cinnamon), required reimagining the disposable, red-checkered paper food trays traditionally used to serve the confectionery treat.
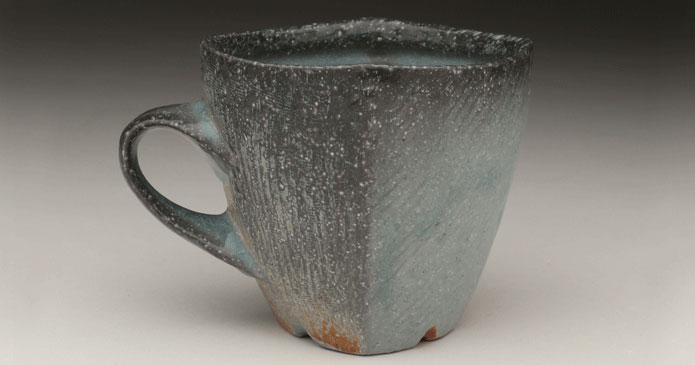
Piercing visually defines form and lightens a dense material that can typically appear heavy. My various colored baskets are reminiscent of pierced metal work. The perforations mimic the checkered pattern as a technique to blend line and form through articulation. The cutouts are not only decorative, but they also provide air circulation for the treats served in them.
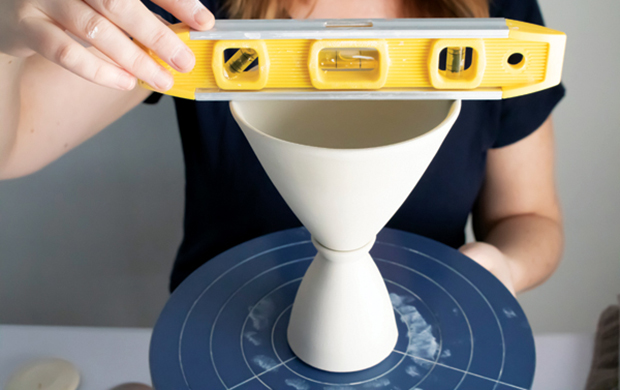
Sketch Twice, Cut Once
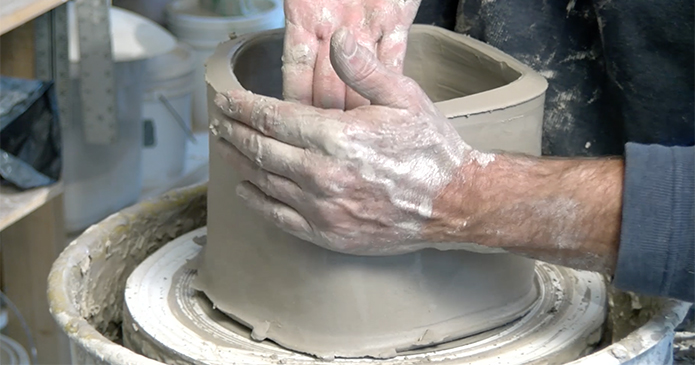
Start inch below the rim, setting a standard width for the grid lines. Sketch the desired size and shape of a square or rectangle for the grid (1). Pay attention to the spacing as you continue to sketch each square around the top row first. Although not an exact measuring method, this free-hand technique aids in applying a flat grid pattern to a convex curved bowl. Practice is key. Sketch slightly smaller squares on each row below, ensuring the grid between the squares is even in width.


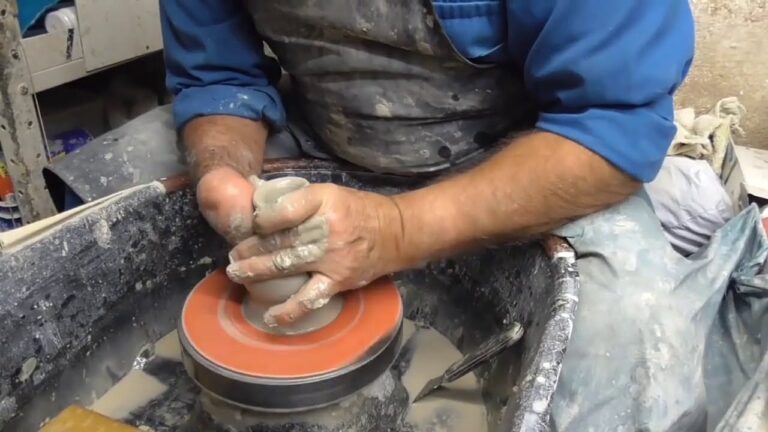
Fill up the form with squares until the bottom row is just above the attached slab bottom. Once the grid is drawn on the form, trace each square with an X-Acto knife, slightly rounding the lines and correcting inconsistencies (2), then cut through the wall with two passes of the knife tip. While cutting, support the interior wall with two fingers in order to judge when the blade has cut through (3).


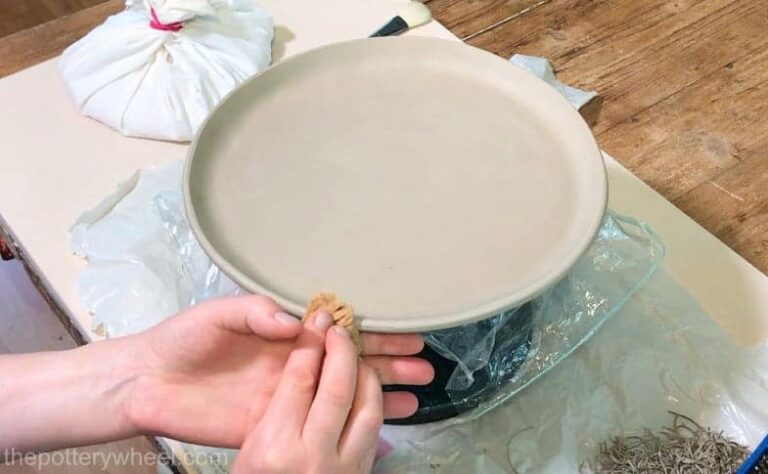
Wrap the basket in a piece of lightweight dry-cleaning plastic overnight to promote slow drying. Due to its minimal material structure, the next day the form will have dried significantly despite being well wrapped. Finally, bevel the cut edges of each square to create a softer profile that matches the rim and handle (4). Let the basket air dry for two days until completely bone dry before bisque firing.