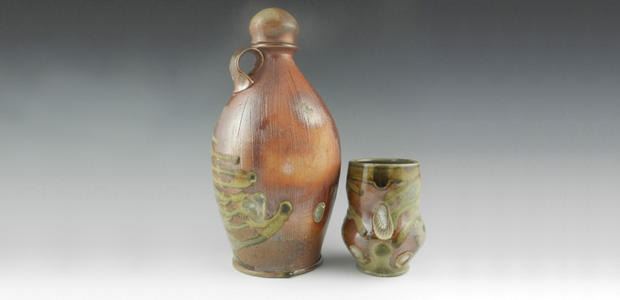
 Whiskey bottles are a popular form in a lot of potters’ vocabularies–understandably because whiskey is delicious! But you also need a cup to drink the whiskey from and if you’re like Matt Schiemann, you put just as much thought into the design of your whiskey cups as you do the bottle.
In today’s post, an excerpt from Clay & Cuisine, Matt explains how he designs his cups to make the whiskey drinking experience optimal! He also shares his clay, glaze, and slip recipes!
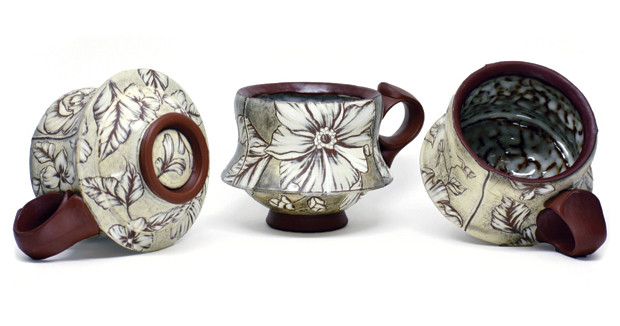
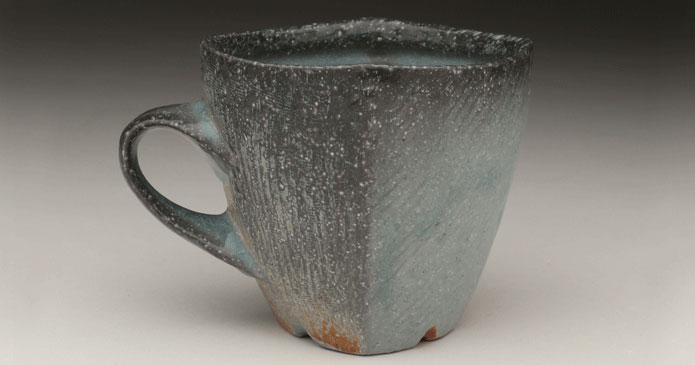
The accompanying whiskey cup [for my whiskey bottles] has an hourglass shape: wide belly, narrow waist, and slightly opened back up at the top. I find this shape works well for bourbon as it allows the whiskey to swirl in the cup and the aroma to fill the drinker’s nose.
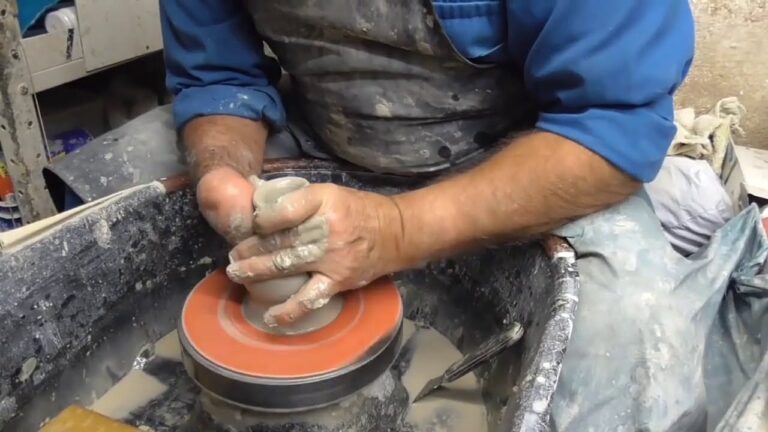
Begin by centering 1 pound of clay and pulling it into a 4.25-inch tall cylinder. Cut away the extra clay at the bottom of the cylinder to make it easier to form a low belly on this small shape. Using your inside hand, press gently against a flexible rib in your outside hand to form the curved belly (figure 1). As you’re forming the belly, curl the rib up and over the curve to create the narrow waist. Once the bottom of the hourglass shape is proportionate, use the same technique to widen the cup out at the top (figure 2).

Trimming and Refining
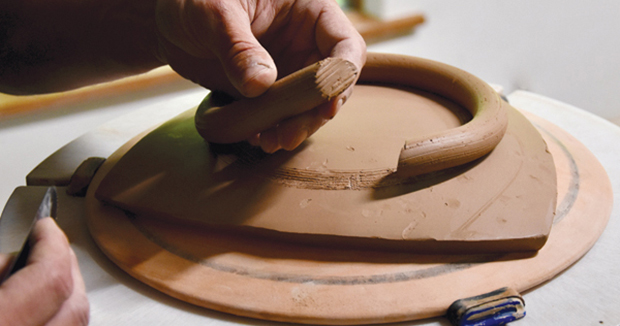
 When the clay is leather hard, trim away the excess and form the outside of the foot ring. Pay attention to the curve of the body and create a seamless line from the belly through the foot to the bottom of the cup. Mark a line in the foot ring as a guide for the width of the foot while trimming away the clay on the inside of the foot ring (figure 3). There should be a correlation between the thickness of the lip and the thickness of the foot. To finish the foot, smooth all edges with a dry finger or rubber rib while the cup is still on the wheel (figure 4).