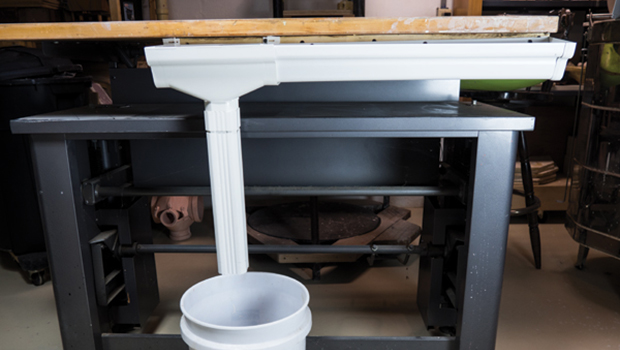

I’m always on the hunt for a good tip to keep my studio clean, and when I saw Daniel Ingersoll’s article in the Ceramics Monthly archive, I knew it would be a hit! Daniel created a simple system to trap his table scraps by using plastic gutter parts he obtained from his local home improvement store.
At $18, this simple and effective scrap trap table is affordable, and easy to assemble. Looks like I’ll be making a trip to the store this weekend to build my own scrap trap table!
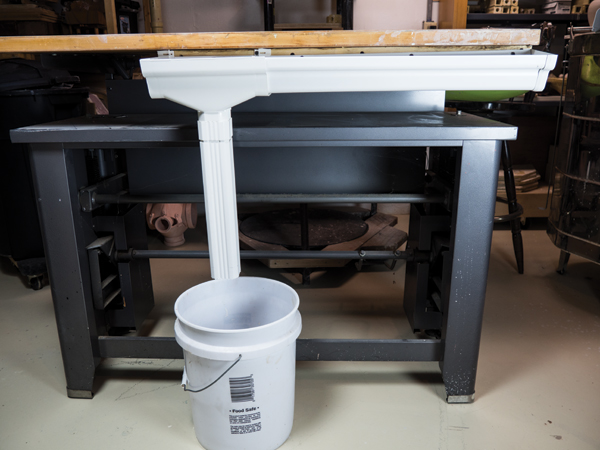
To help keep my studio clean, I took a trip to my local home improvement store, bought $18 worth of snap-together plastic gutter parts, and spent an hour at home adding a scrap trap to my work table. To make one for yourself, you’ll need two end caps, one length of gutter cut (with a saber saw) to fit your table, one downspout fitting, and one downspout (1).
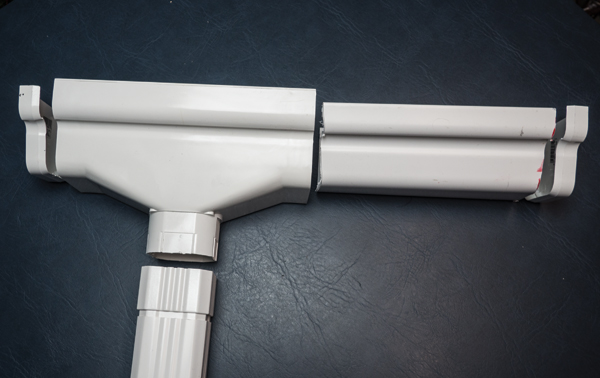
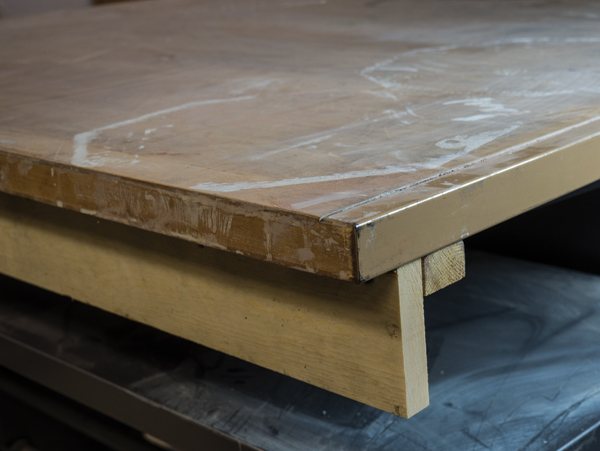
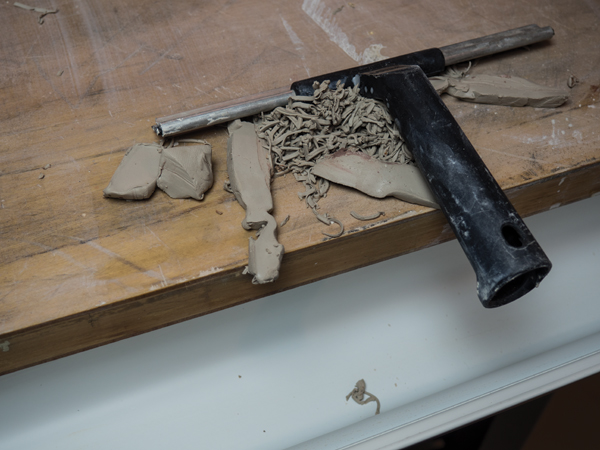
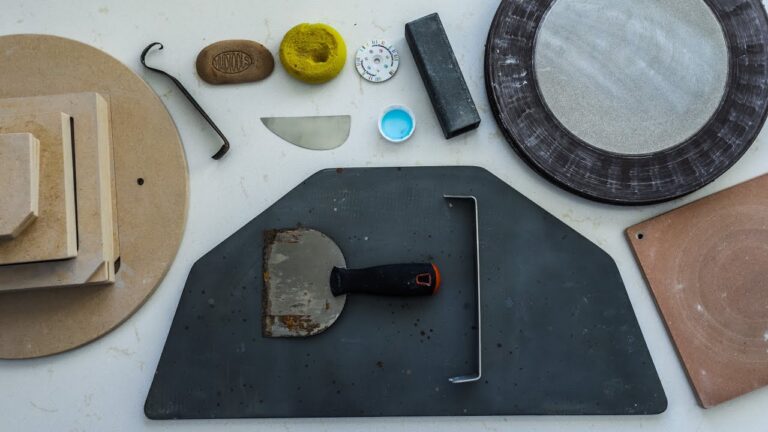
First, you will need to make a bracket to attach the gutter trap to your work table (2). I glued and screwed two scrap pieces of wood together in an L shape. This L bracket was made the same length as the gutter to support it in its entirety. The short side of the L bracket is screwed to the bottom side of the work table and the long side faces out to support the gutter. Simply use some small screws to attach the gutter to the supporting face of the L bracket (see 4). Assemble the gutter as shown in the photo and secure it to the table. Then, use silicone to seal all the seams to prevent future leaks when wet cleaning. Get yourself a pail, squeegee, and a sponge (3, 4), and your scrap trap table is complete. I always find a clean studio space invites me to work!
