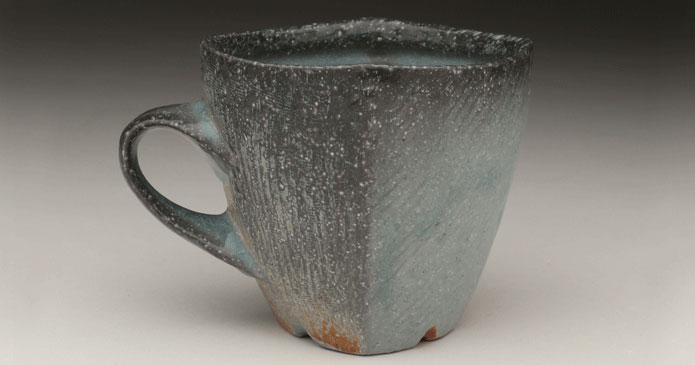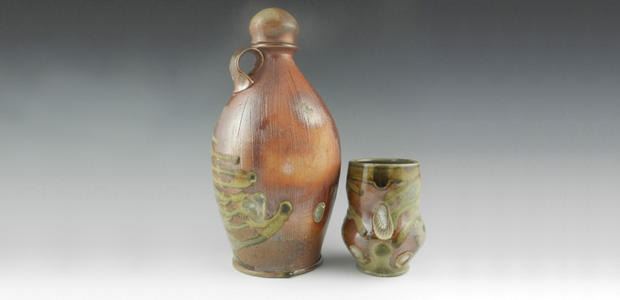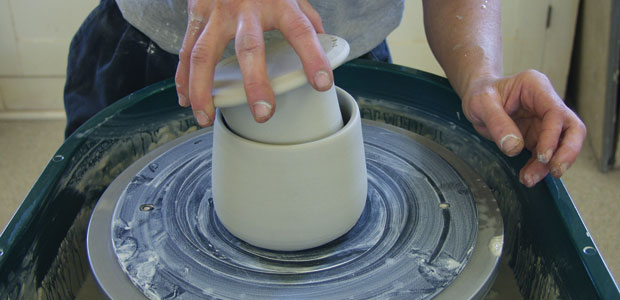
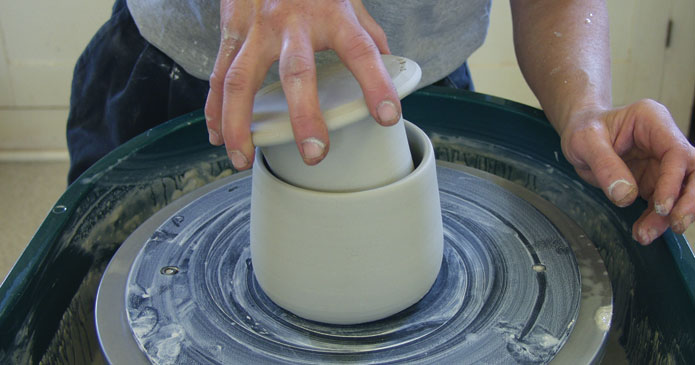
In this post, an excerpt from In the Potter’s Kitchen, Sumi von Dassow shows how to throw a French butter dish on the pottery wheel. If you are unfamiliar with French butter dishes, they are a great way to store real butter (as opposed to margarine) outside the fridge without it going bad.
A great solution to the hard-to-spread-butter conundrum that plagues many a household. So, how do you do this on the potter’s wheel? Read on to find out!
If you make and sell lidded pieces you usually don’t have to tell your customers what to do with them—if they are looking for a cookie jar, casserole dish, or honey pot, they’ll know what they want (although it can’t hurt to put a favorite cookie recipe in a cookie jar).
But there are some special lidded forms that do need instructions. One of these forms is the French butter crock.
Wheel-Thrown Butter Crocks
These crocks are for households that use butter on a daily basis, say for spreading on morning toast and mashed potatoes at dinner. Rather than getting the stick of butter out of the refrigerator and waiting for it to soften, you keep the butter in the butter crock and it stays fresh and spreadable. The butter crock is a simple cylinder with a special kind of lid. The lid has a flange on it that is almost as deep as the crock, and the butter is packed into this lid. What keeps the butter fresh is a small amount of water in the crock, just enough to touch the lip of the lid to seal it from air circulation. In most climates, water is enough to keep the butter fresh, but if the temperature is hot enough to melt butter, chipped ice can be added to the water.
The butter-holding portion of the lid should taper in just slightly, to keep the butter from sliding out, and you may also want to avoid using a very glossy glaze in the butter portion to help keep the butter in place. Some users in warm climates report that the butter keeps better if there are a couple of small holes in the sides of the butter chamber. When the crock is full, the butter covers these holes but as the butter is used, the holes allow the water level to rise inside the butter chamber.
This way there is less air in the butter chamber to cause the butter to go rancid. Two or three holes at ½–1 inch vertical intervals are all that is needed. Some potters also put holes in the top of the butter chamber to help keep air pockets from forming as the butter is packed in. Butter crocks should be made of vitrified stoneware for two reasons: butter may seep into earthenware and go rancid eventually; and of course the base section of the crock must be vitrified or the water will seep through. Earthenware can be used for a butter crock if care is taken to make sure the glaze fits the clay well so it doesn’t craze, and if the bottom is either glazed or coated with terra sigillata to make it leak-proof.
Firing Note: The two pieces will be fired separately to avoid leaving the rim of the base and the corresponding area on the top unglazed. This requires firing the lid on a “sacrificial slab” so that the long flange won’t be deformed by shrinking in the firing. A “sacrificial slab” is a bisque-fired disk of clay that the piece is placed on for the glaze firing. The disk shrinks evenly in the firing, allowing the piece placed on it to shrink with it and avoid deformation. Without this disc, the lid will tend to become oval or irregularly shaped in the firing and might not fit properly into the base after firing.
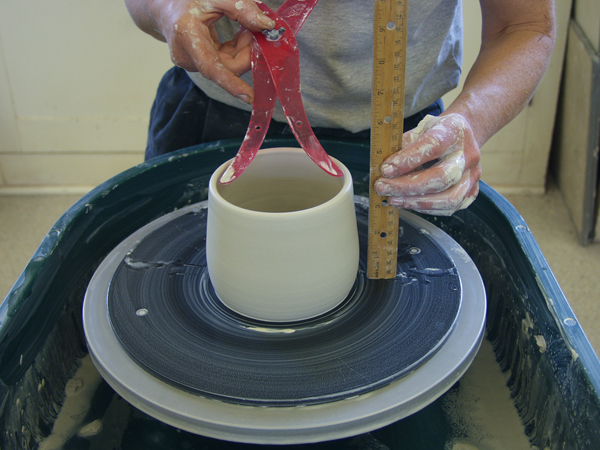

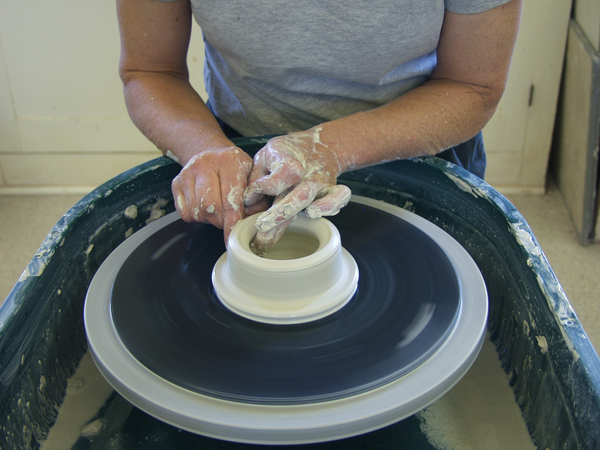
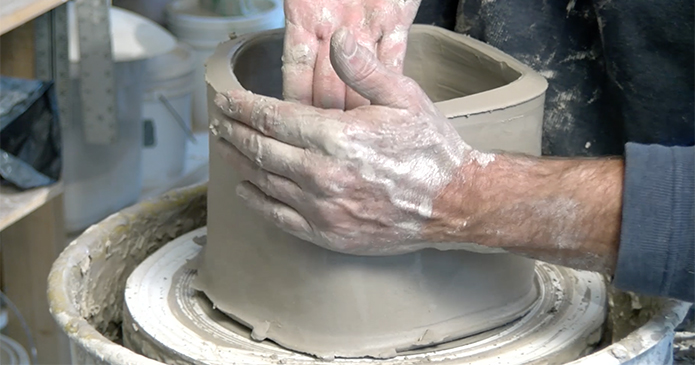
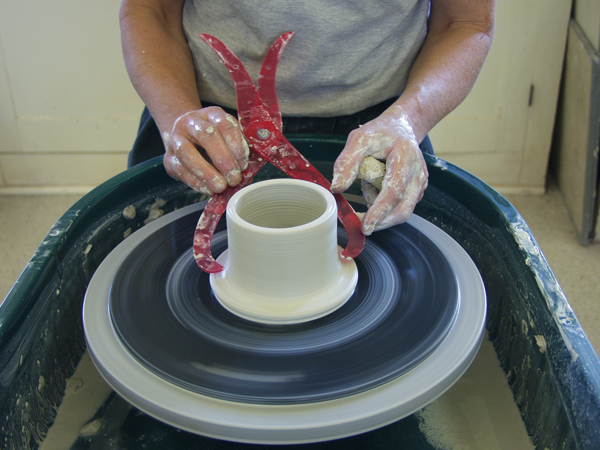
- Using 1 to 1½ pounds of clay, throw a cylinder leaving ¼ inch of clay on the bottom, no need to trim a foot. Measure inside the rim and the height using Lid Master calipers.
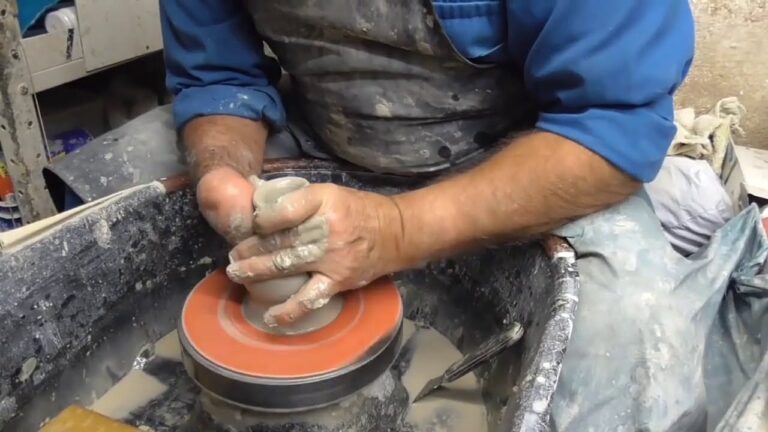
- Use a little less clay for the insert. Open it wider than your caliper measurement. Push the edge of the clay flat and start pulling up a cylinder from the rest.
- Leaving the outer edge flat, pull the central cylinder up to slightly less than the height of the base section. The top of the crock should end up about ½ inch shorter than the base.
- Measure the lid and make sure one end of the caliper set fits inside the rim of the base, and the lid fits inside the other end of the caliper set. Make sure the lid is ½ inch shorter than the base.
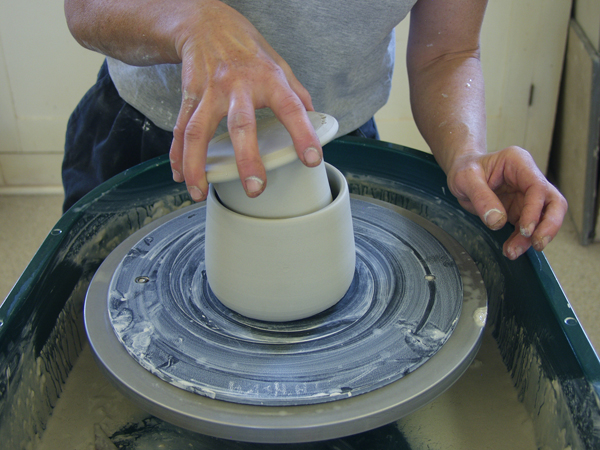
- When the two pieces are leather hard, try them together. The lid should fit snugly inside the base, and it should be about ½ inch shorter.
- The glazed butter crock ready to be fired, showing the top on a “sacrificial slab.”

How to Fill Your Butter Crock
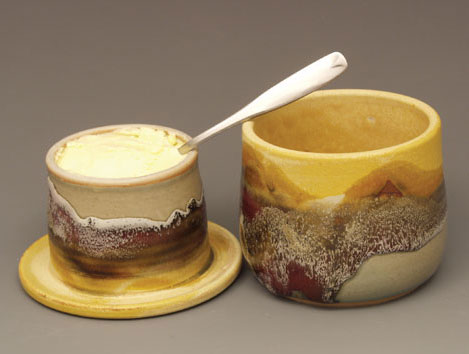
- Allow a stick of butter to get almost to room temperature.
- Remove wax paper from butter.
- Place stick vertically into butter chamber.
- Place wax paper on top of the stick of butter.
- Placing the heel of your hand on the wax paper, mash the butter into the chamber. If necessary use your fingers (keeping wax paper in place) to push butter more tightly into the chamber. The chamber doesn’t need to be full to the brim.
- Put ¼ to ½ inch cool water in the base of the butter crock.
- If it is very warm, add chipped ice to the water.
- Put the top on the crock. Don’t worry about the butter getting wet—the water will be displaced by the butter chamber but it won’t go inside.

